|
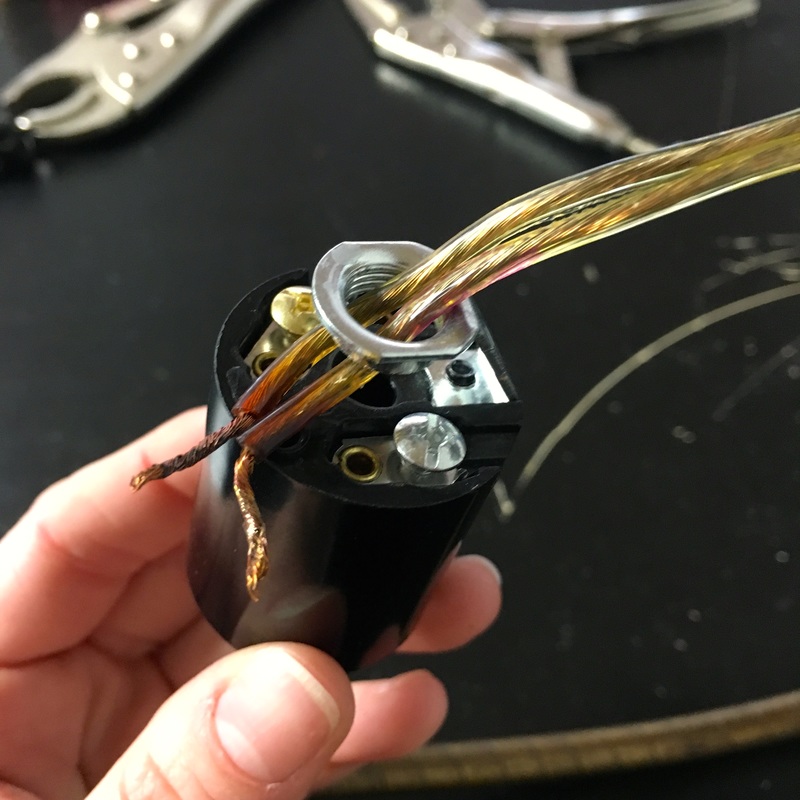
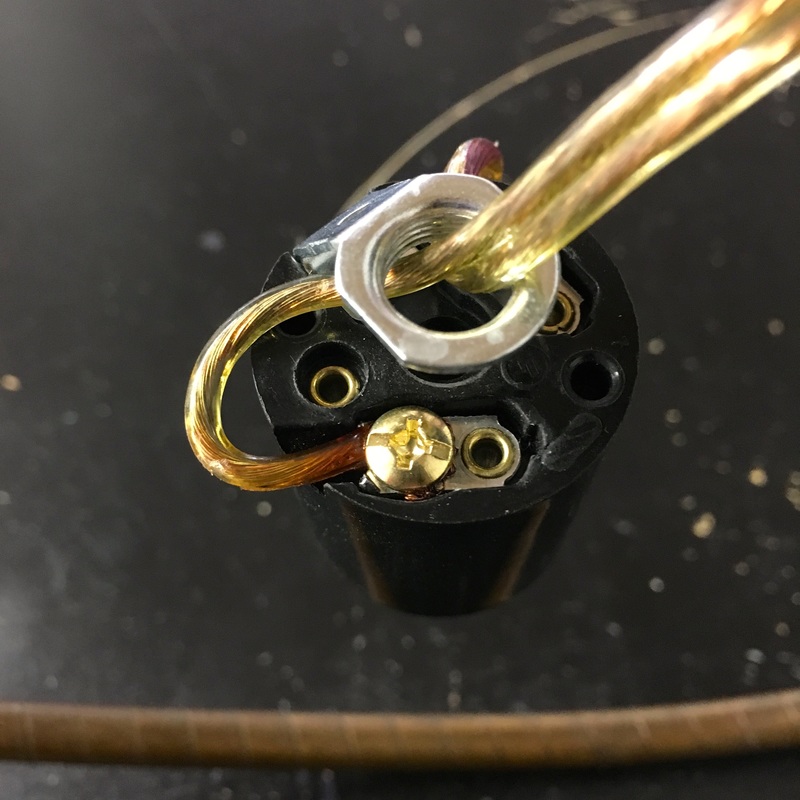
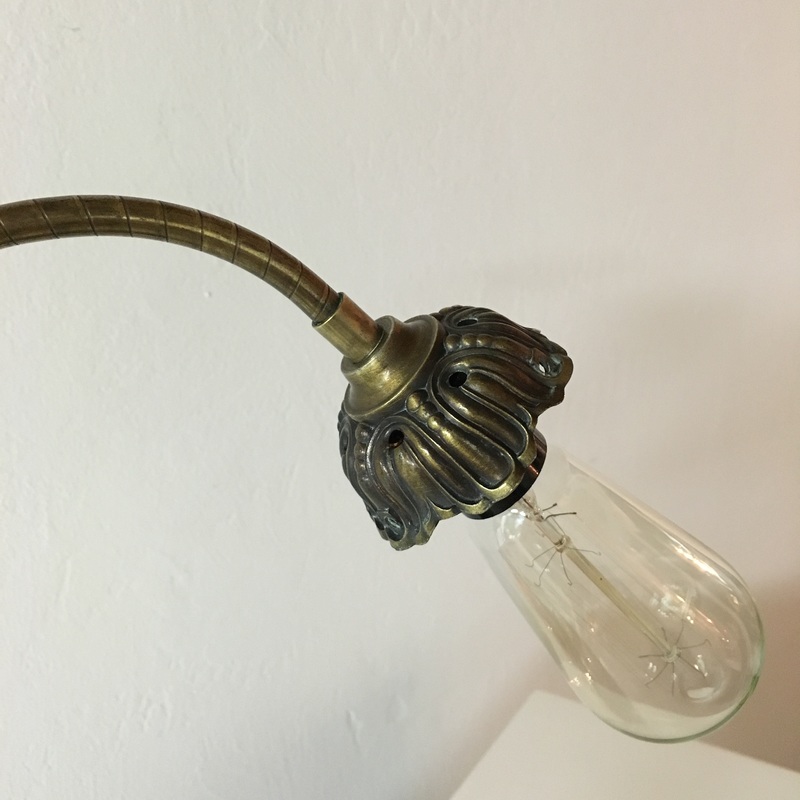
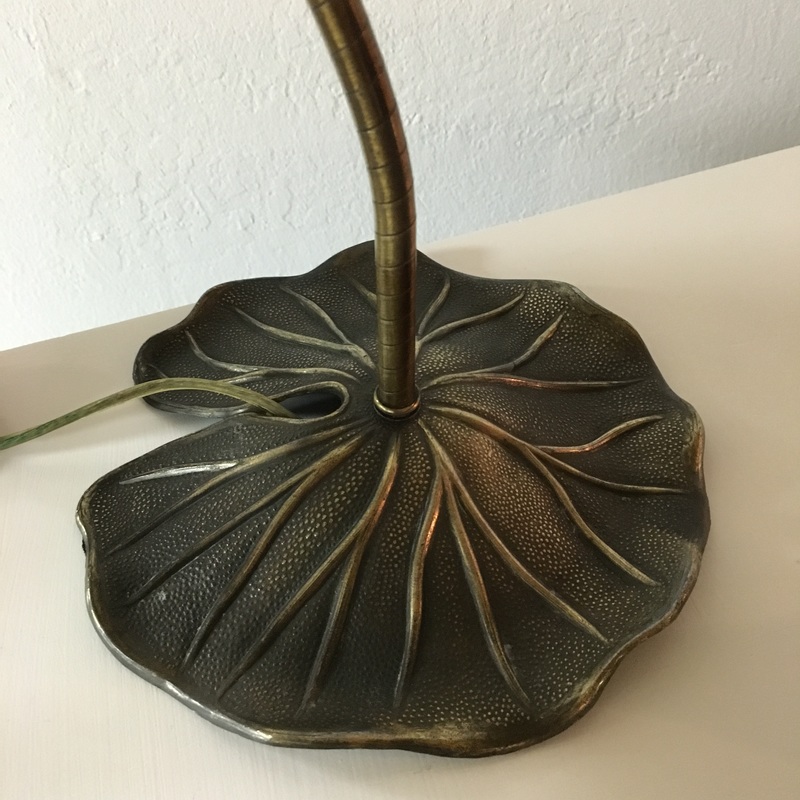
A few months ago while treasure hunting at the Alameda Antique Faire hidden behind piles of items I saw a lily pad base popping out and was instantly in love. I have seen this type of lamp before but never with an ornate shade base. They were beautiful and they needed to come home with me! Once home I did some thinking and decided that though they are lovely in their original form I wanted to update them. My first thought was Edison bulbs, industrial chic and modern. To do so the lamps needed to be rewired from a chandelier base to a standard socket. This is something I have never attempted before so I took them to a lamp expert only to be told it would cost $110...Eek! Not willing to drop that much cash on a couple of lamps I decided to give it a whirl myself...after all I changed all the electrical sockets and hardwired the ceiling pendants at the shop why was this any different. After digging through the lamp kit section at my neighborhood hardware store I found what I thought might do the trick! 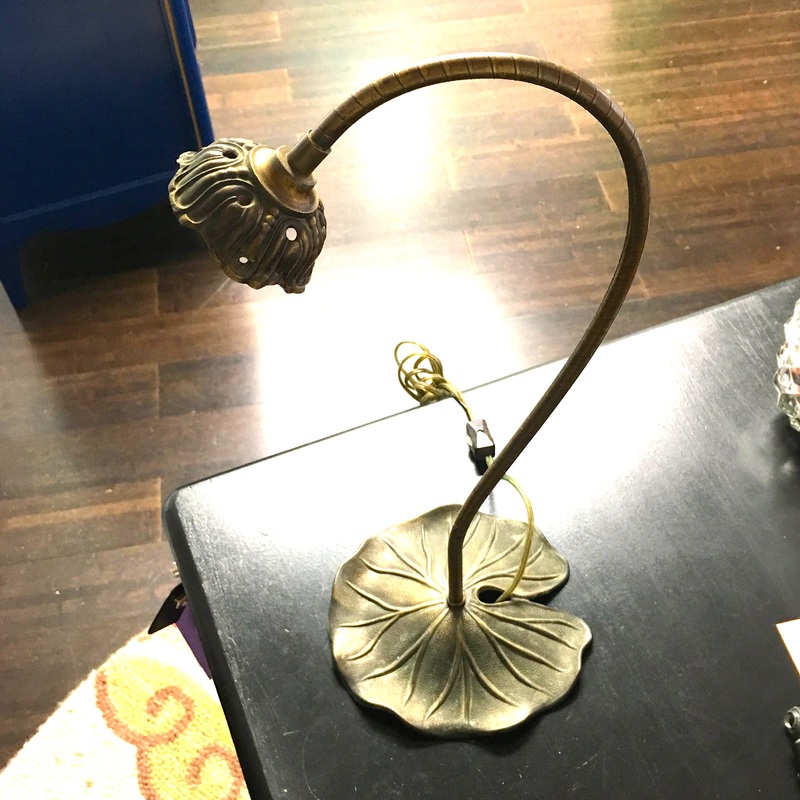 1 of 2 Vintage Lily Pad Table Lamps 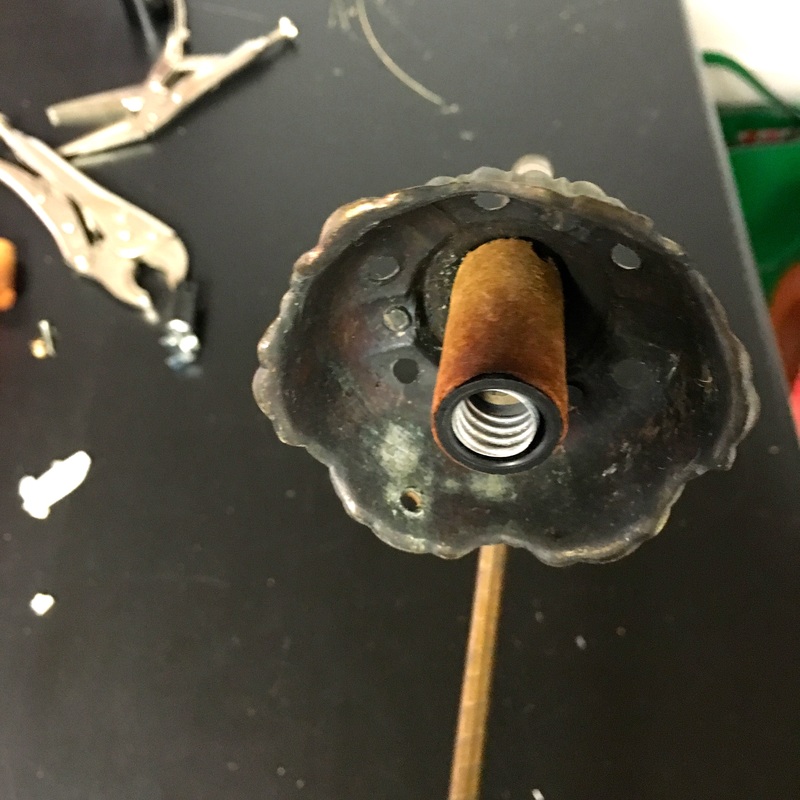 Chandelier base to be replaced with standard socket 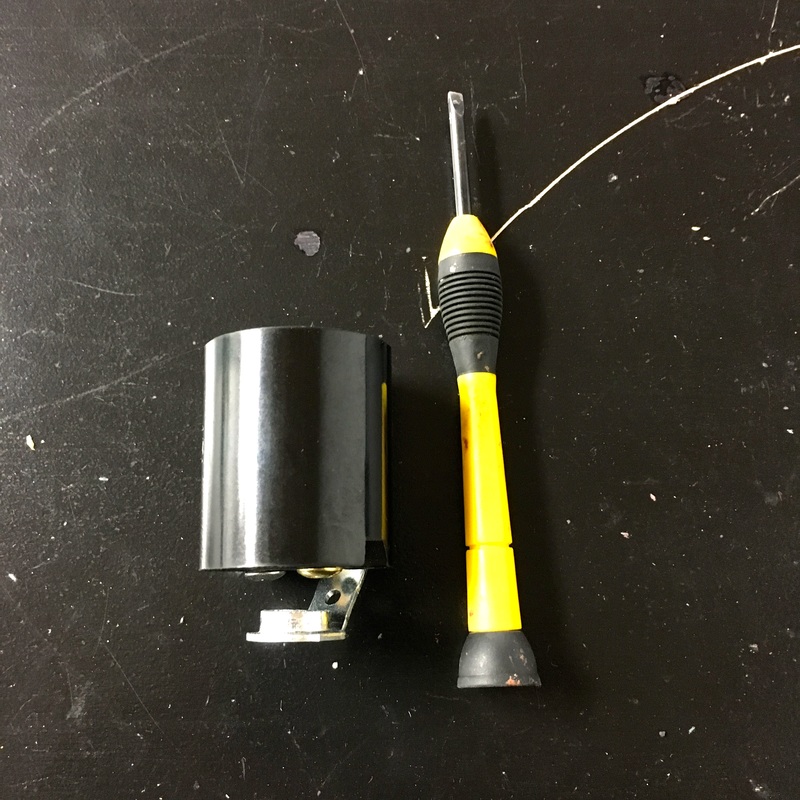 Tools needed to complete transformation 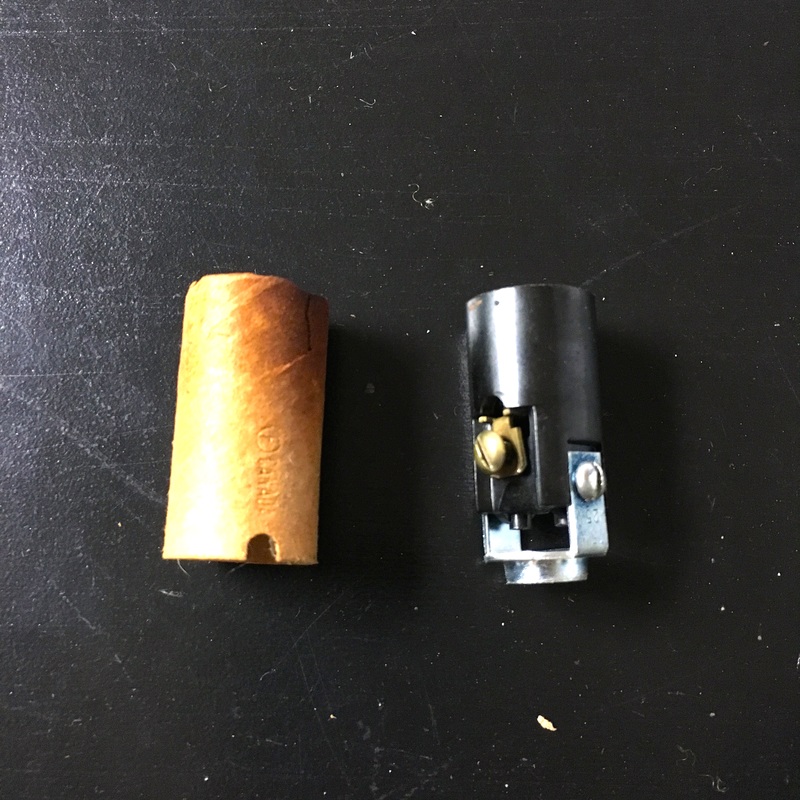 Chandelier base First thing make sure your wiring works, if it does not you will need to use new wiring. Secondly make sure the lamp is unplugged and gather your tools. In this case my wiring was good all I needed was a small flat head screw driver and the new socket. While removing the chandelier socket I made sure to mark which wire went with which screw, as you can see in the photo below one is silver and one is gold. I used a purple sharpie and just scribbled on the wire to be connected to the silver screw. Slide your wires through the hole that attaches the socket to the lamp, bend the wires around the proper screw and tighten. Screw the socket back onto the lamp, add a lightbulb and hit the switch! It really is that easy! 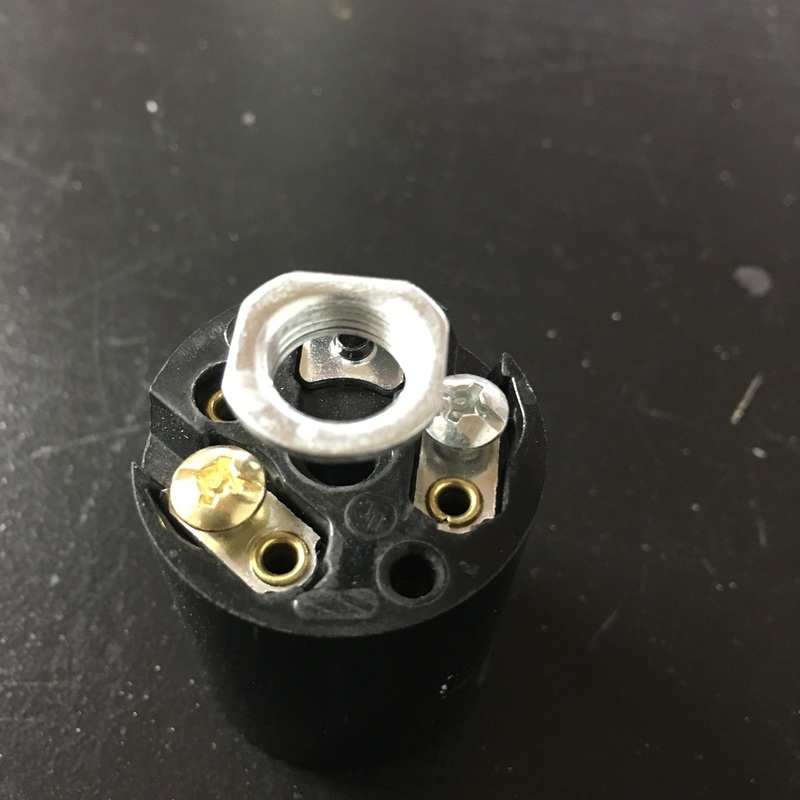 New Standard Socket
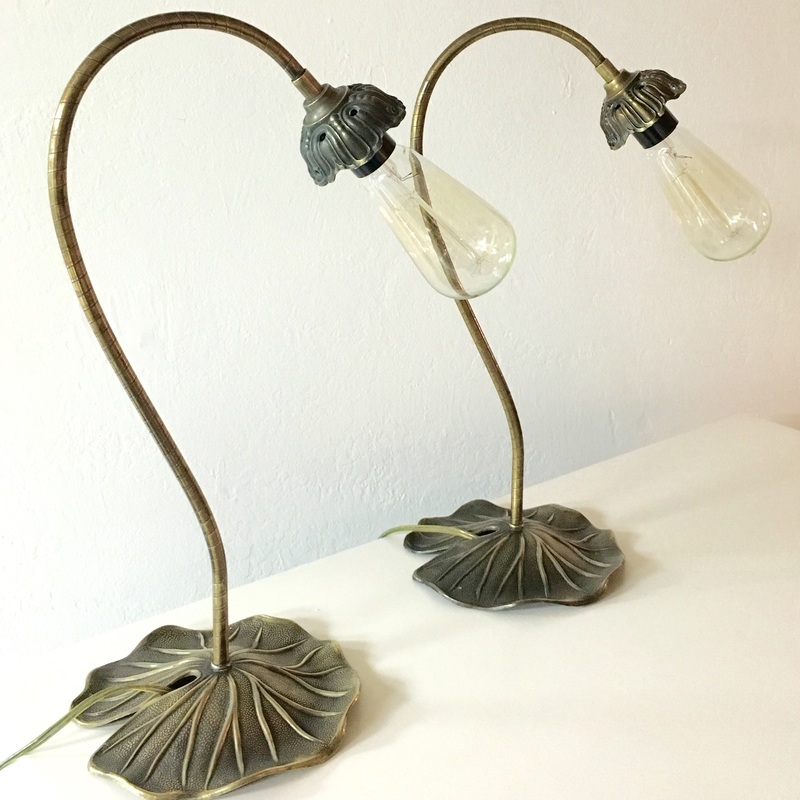 Final Product The lamp expert I spoke to said it was hard work and time consuming hence the hefty price tag. This took me 15 minutes and $9 to complete both lamps. I was a little weary after hearing how hard this could be and I didn't want to ruin such beautiful pieces, but when I plugged the lamps in and the light bulb lit up I was elated. I called Dad to tell him my story so proud of myself for accomplishing something new, but what really made me smile was what he said about the lamp expert, "He hasn't met a Stoecker"! Dad was right, as usual, you can do anything you put your mind to, have confidence in yourself and give it a whirl. Thanks Dad!
1 Comment
|
~ ABOUT ME ~
Creative Owner of Delightful Designs, a boutique where furniture is given a new colorfully chic life! Read more...
CATEGORIES
All
ARCHIVES
November 2017
|
 RSS Feed