|
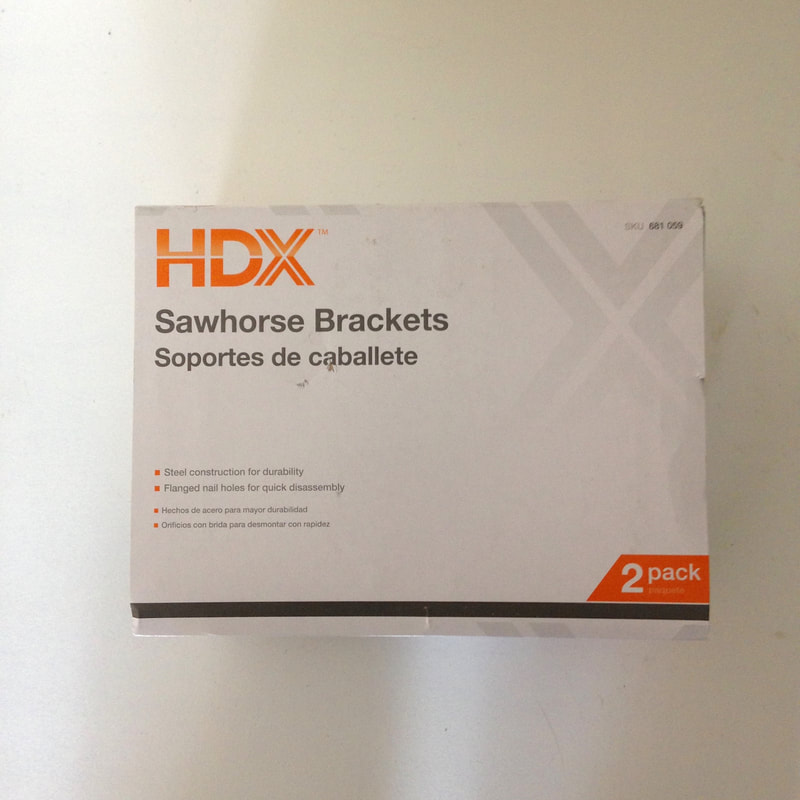
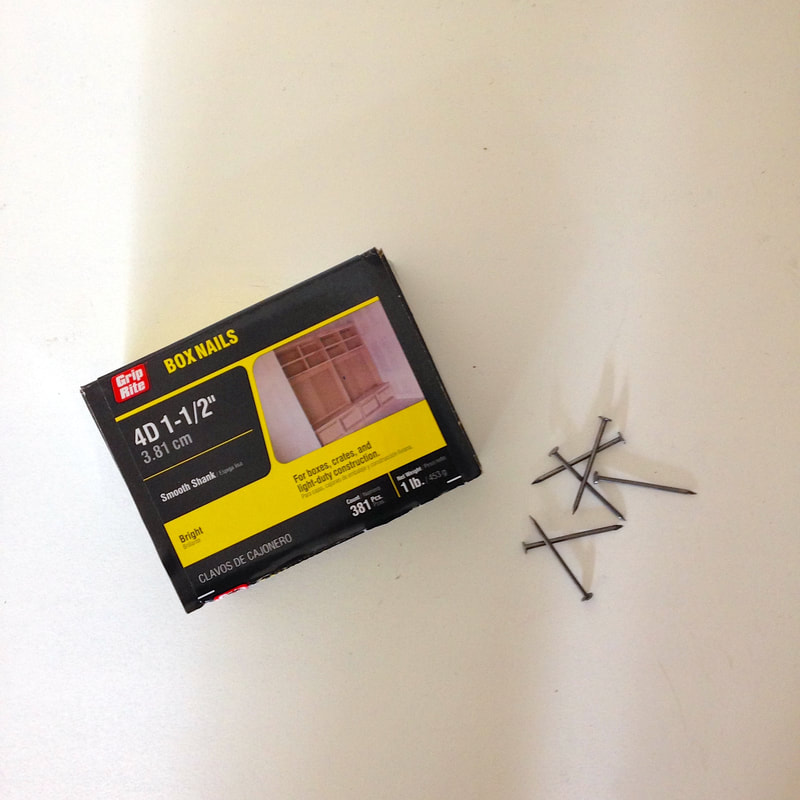
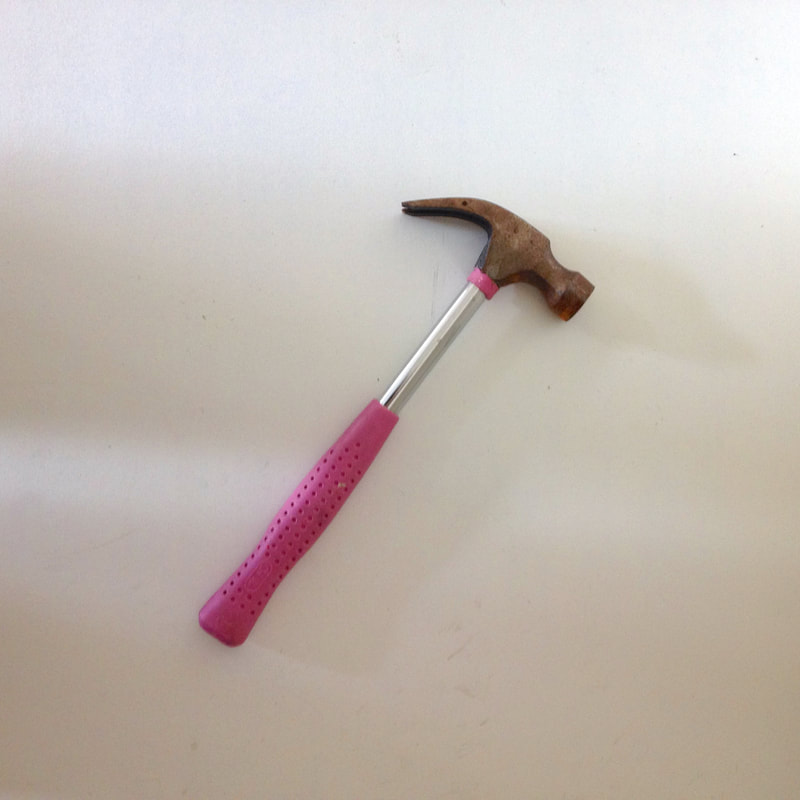
The past year has been one for the record books! I traveled to seven different countries, married the man I couldn't image experiencing life without and now call the lovely city of Seattle home! It is time to get back to work and what better way than by building a new set of sawhorse legs to get the furniture restoration off the ground (sorry I couldn't help it) and growing in a new city. 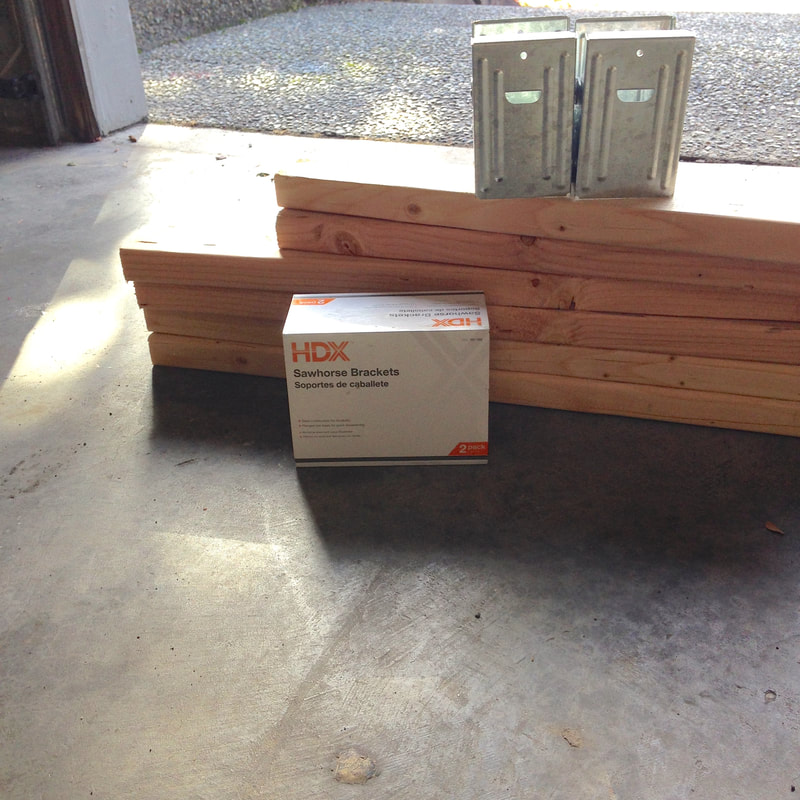 Building sawhorse legs is an affordable project you can complete in under 30 minutes. A quick trip to the hardware store and the project was underway. Supplies: Sawhorse Brackets (2 sets) 2x4's cut into desired length (4 each) 1.5" Nails Hammer
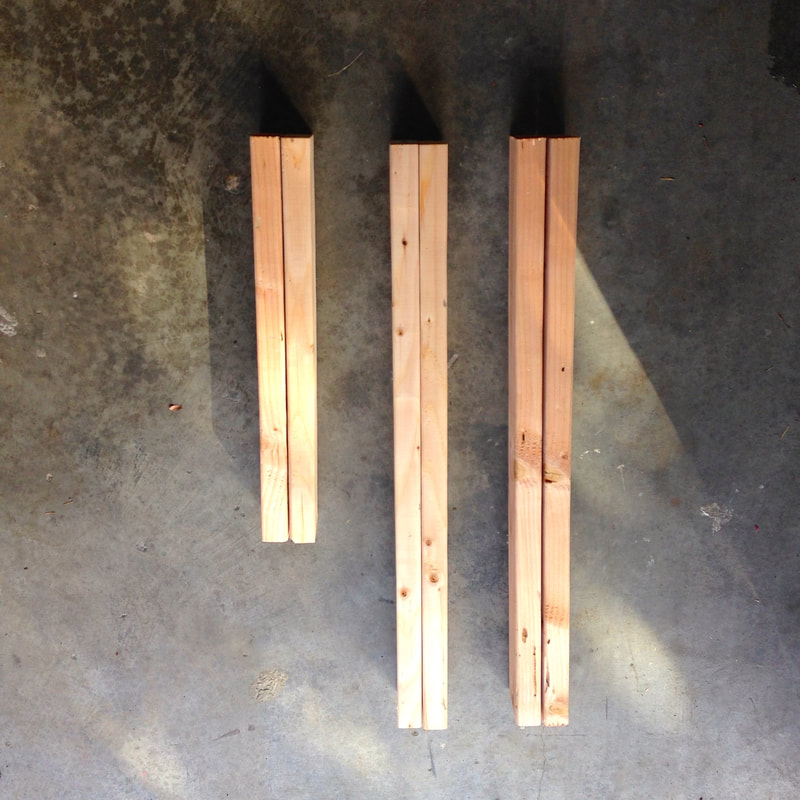
I decided I wanted my sawhorse legs to be fairly tall so that I could top it with a piece of wood and use it as a workbench if I needed to. I had the hardware store cut four 8' 2x4's into two 36" sections which left me with a 24" section. (These numbers are for making two complete sawhorse legs.) First thing you will do is insert the 36" 2x4's into the metal brackets. The first set was super easy but the second I had to sand around the edges of the 2x4's and put a little muscle behind shoving them into the brackets. Don't get discouraged the brackets are made for 2x'4s so they will fit with a little convincing. 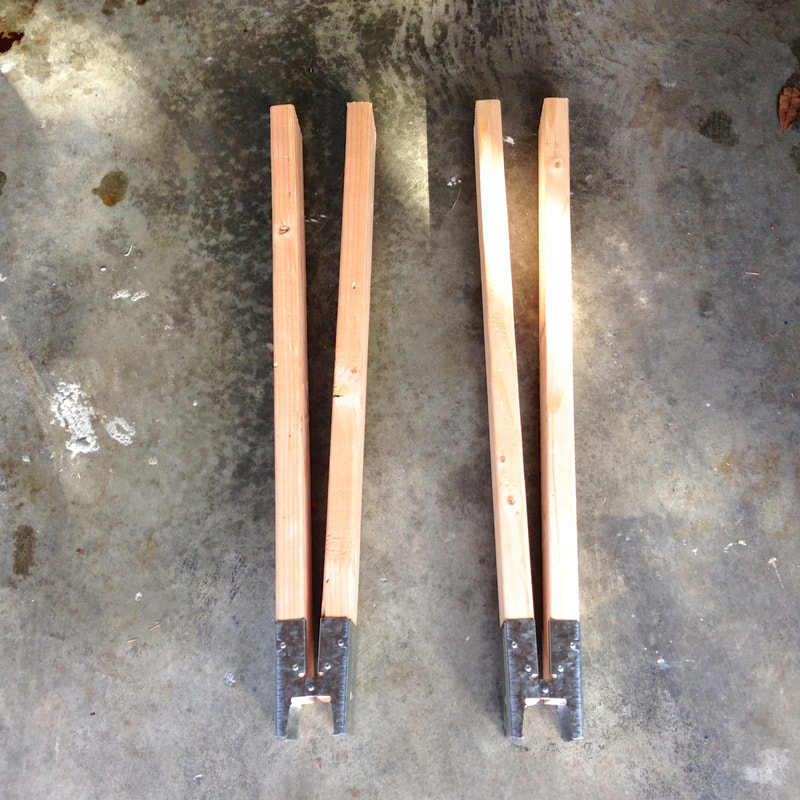 Next I laid the brackets with 2x4's on the garage floor, I put a piece of cardboard underneath so that it didn't slide and make as much noise while hammering the nails. The brackets have pre made holes which makes it super easy to secure the 2x4's in place, you will use 8 nails. 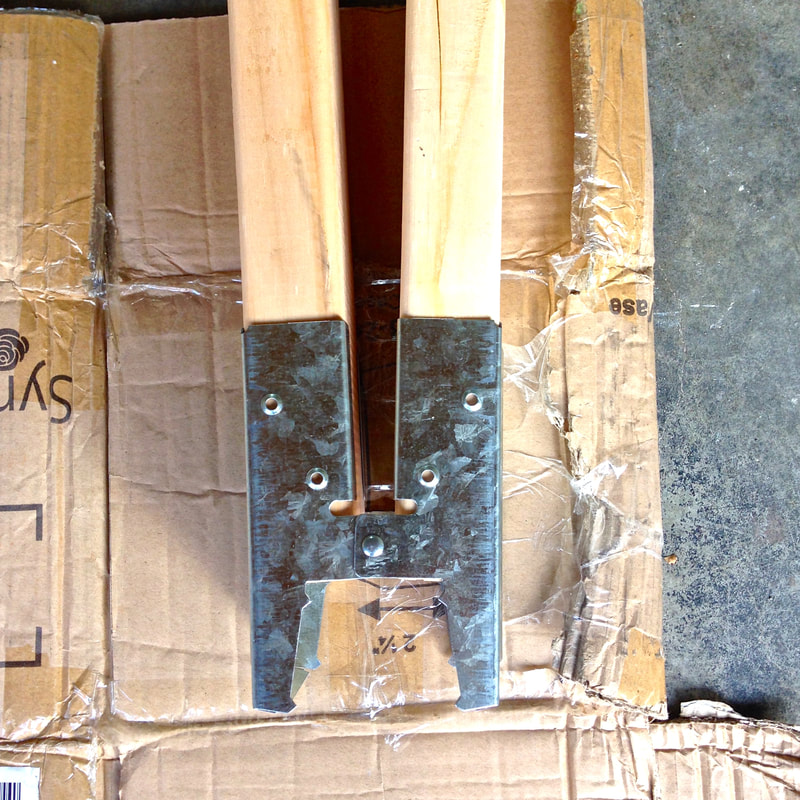 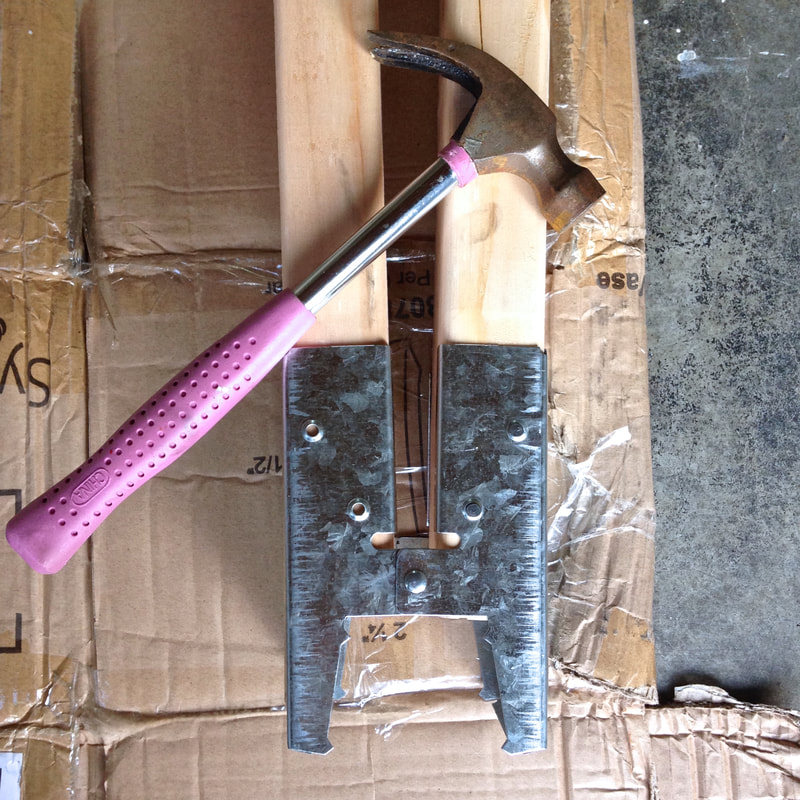 Once you have the legs secured to the brackets stand them up about 24" apart (or the length of your top piece). I decided to make the brackets flush with the ends of the top piece but you can have the ends hang over a bit if you want to be able to hang things off of them. Open the sawhorse legs just wide enough so that you can get the top piece into place. Then with a little force, not too much, spread the legs so that the bracket clamps into the top piece. Do this on both ends and secure with an additional nail. I went ahead and added two more nails since I won't be closing mine up for storage I wanted them to be sturdy. 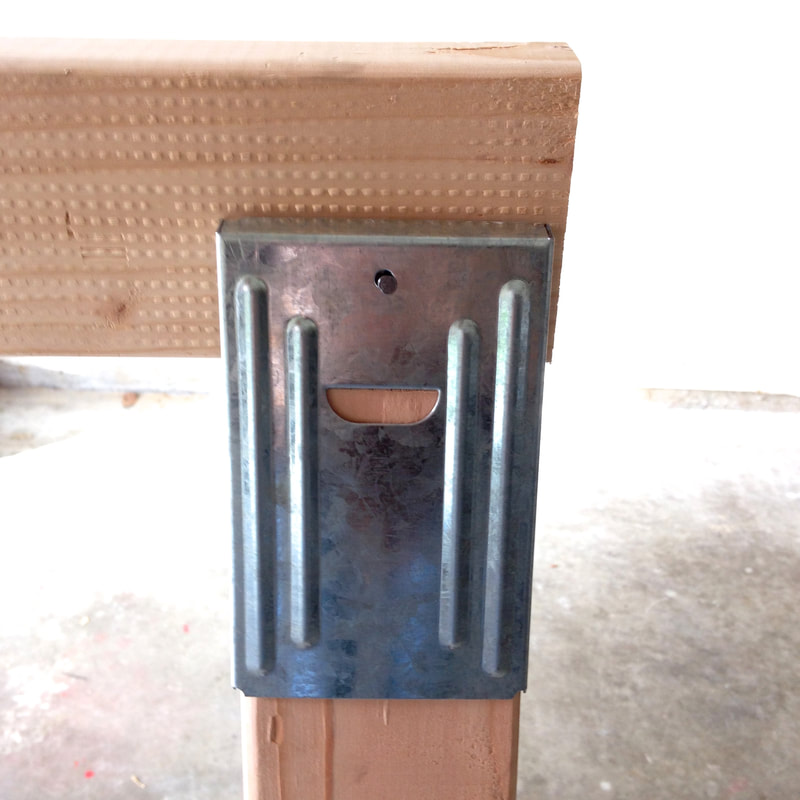 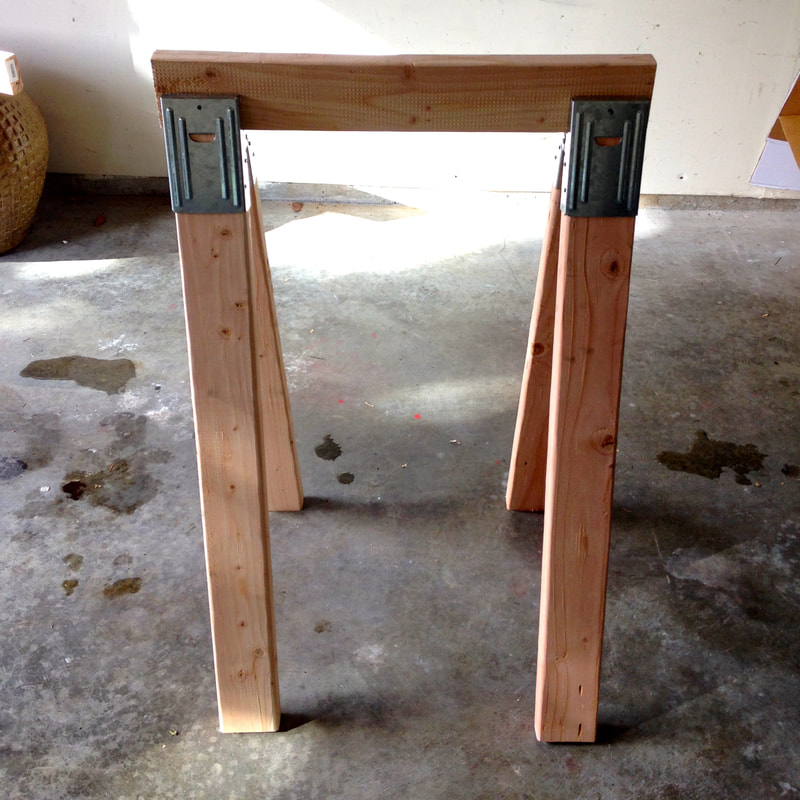 Wa La! I now have a set of two sawhorse legs ready to be topped with a piece of plywood for working on small projects or stand alone so that I can place an item on top for prep or paint! Thank you for following along!
0 Comments
Leave a Reply. |
~ ABOUT ME ~
Creative Owner of Delightful Designs, a boutique where furniture is given a new colorfully chic life! Read more...
CATEGORIES
All
ARCHIVES
November 2017
|
 RSS Feed