|
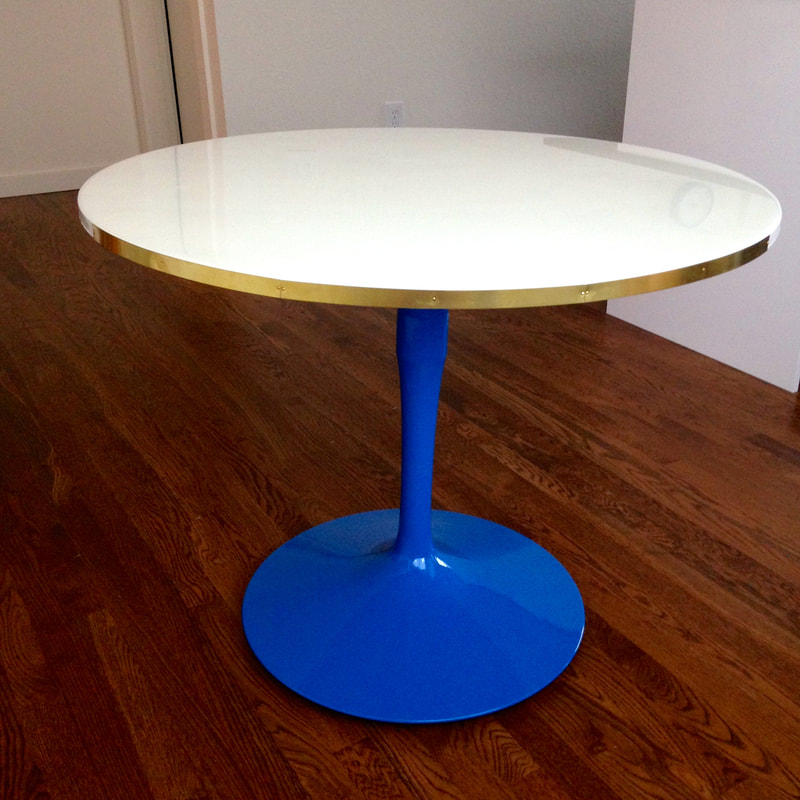
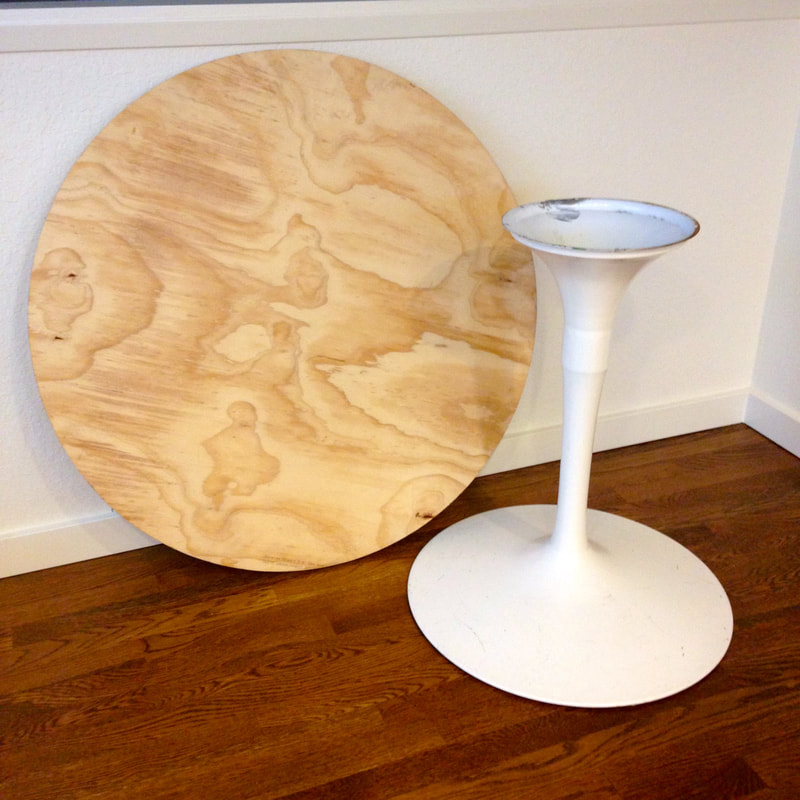
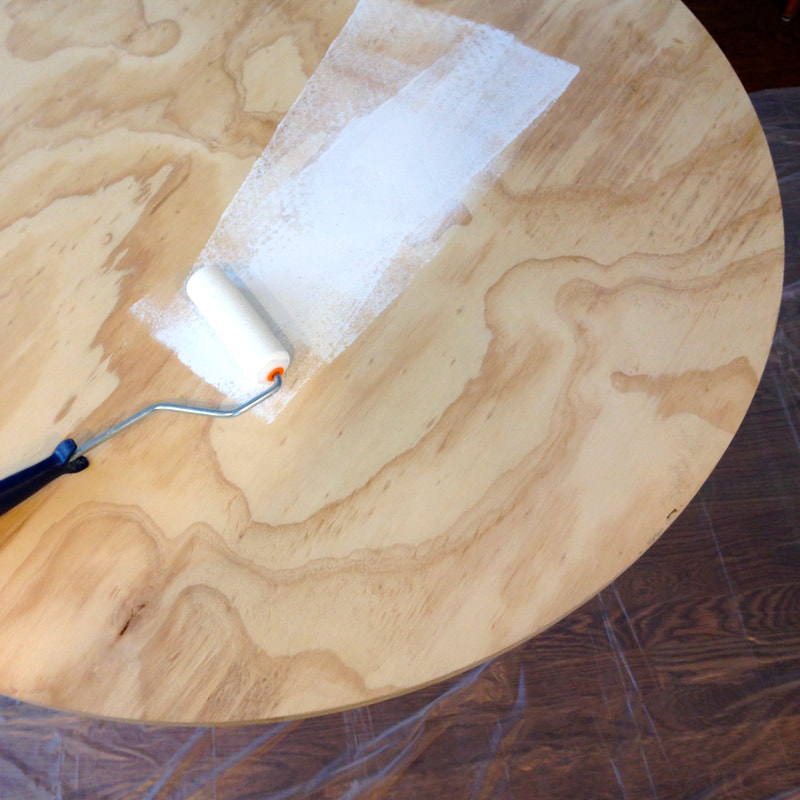
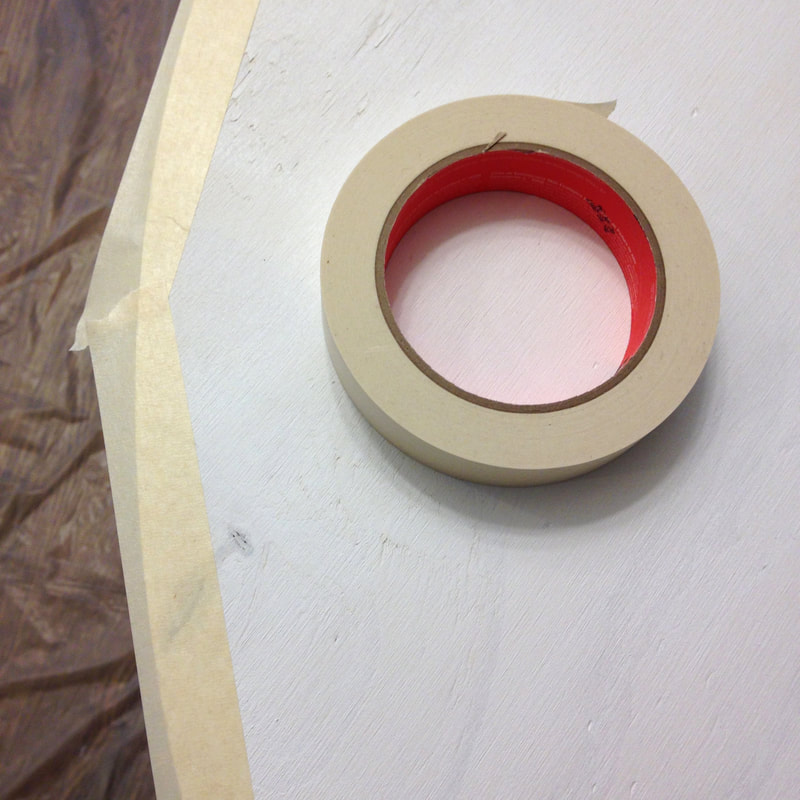
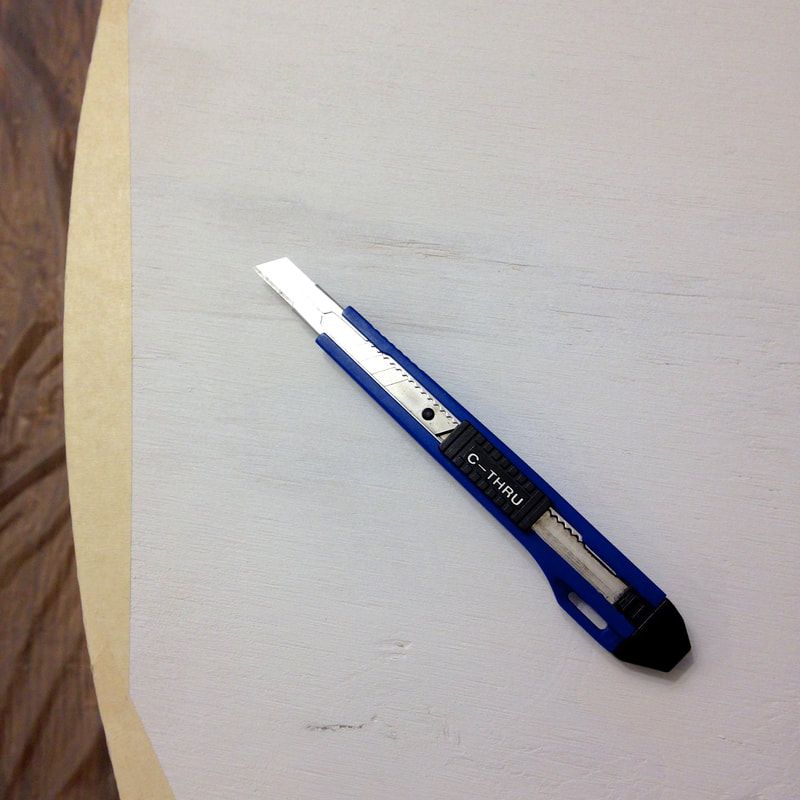
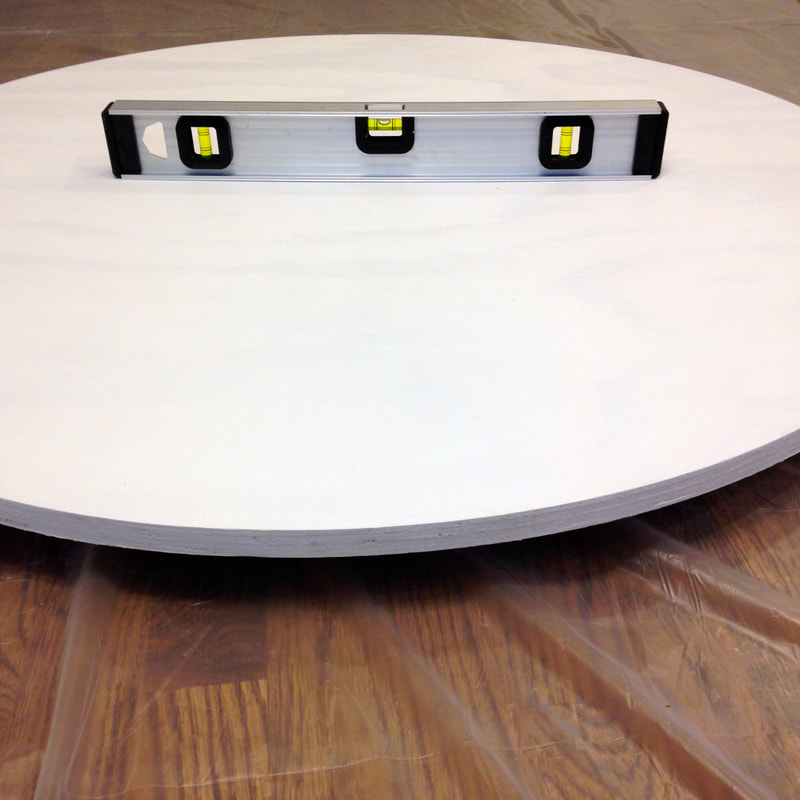
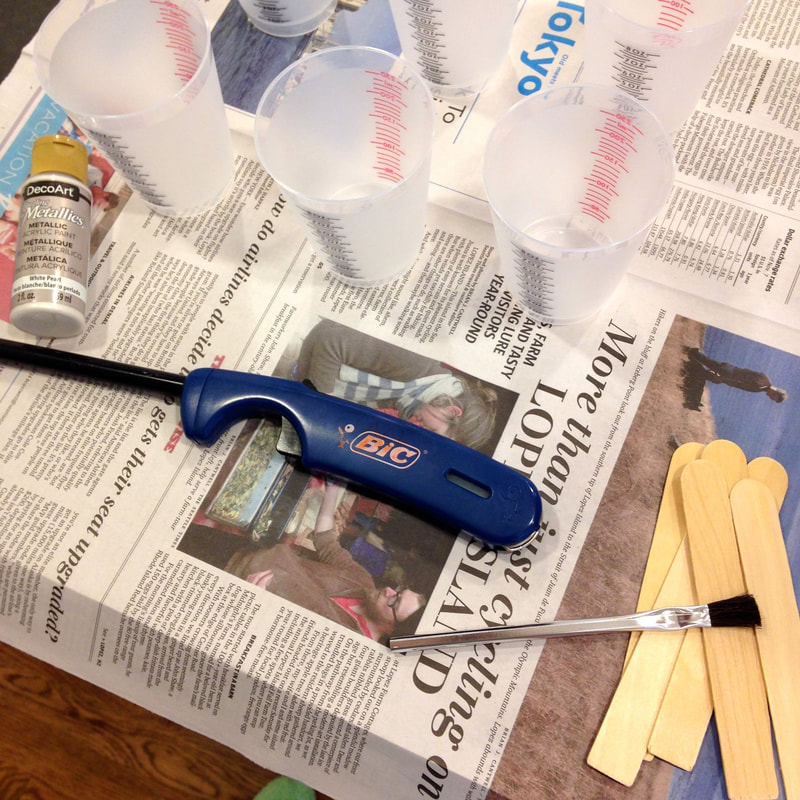
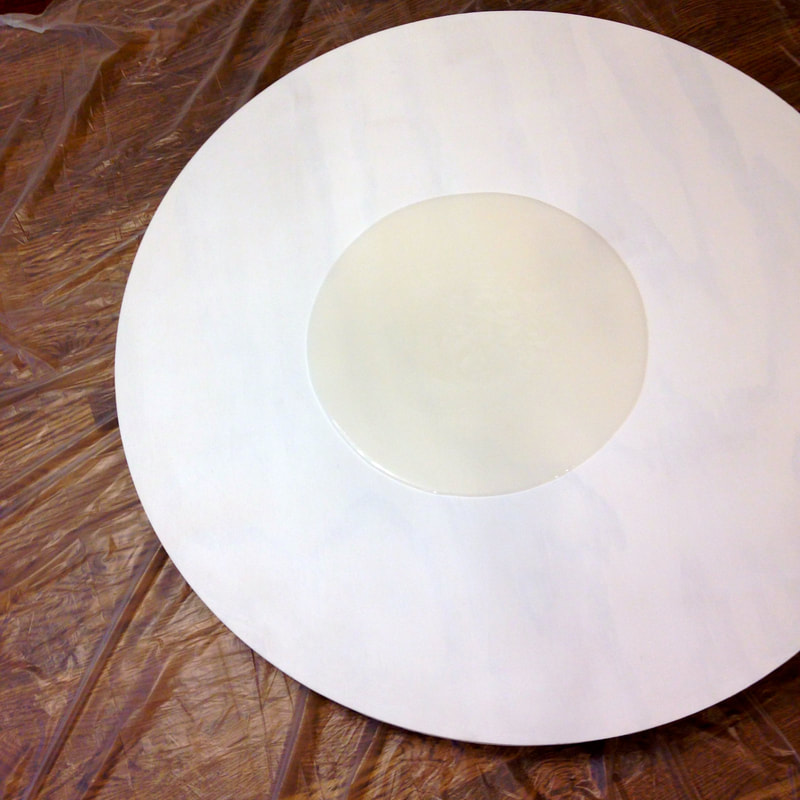
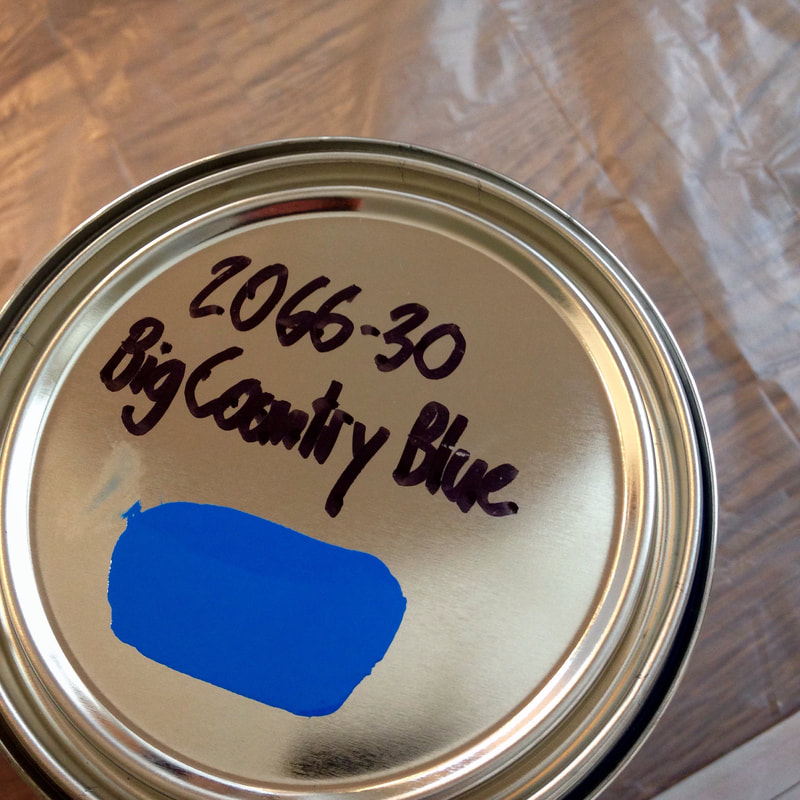
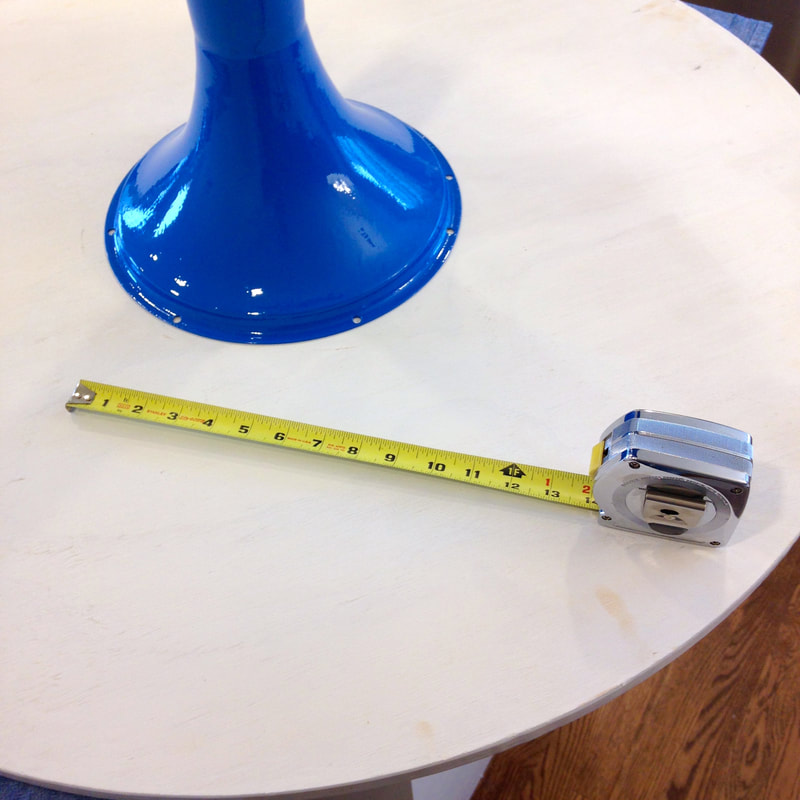
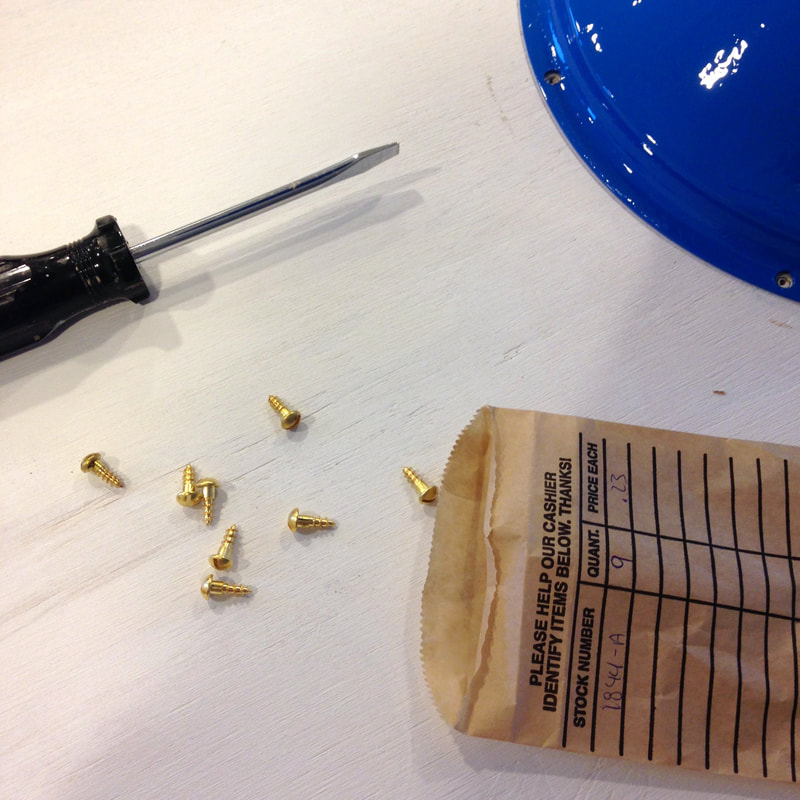
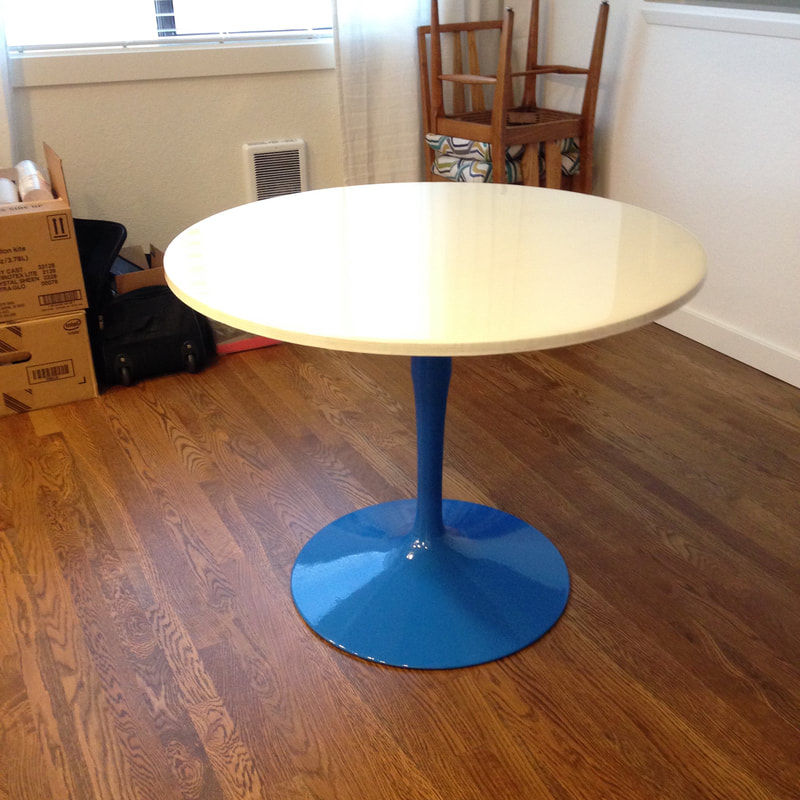
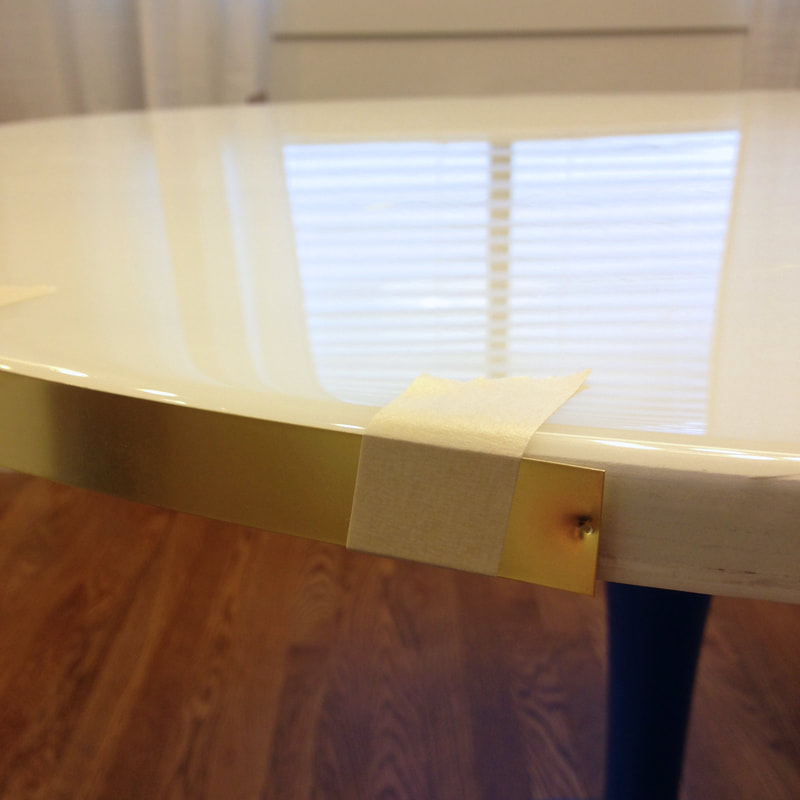
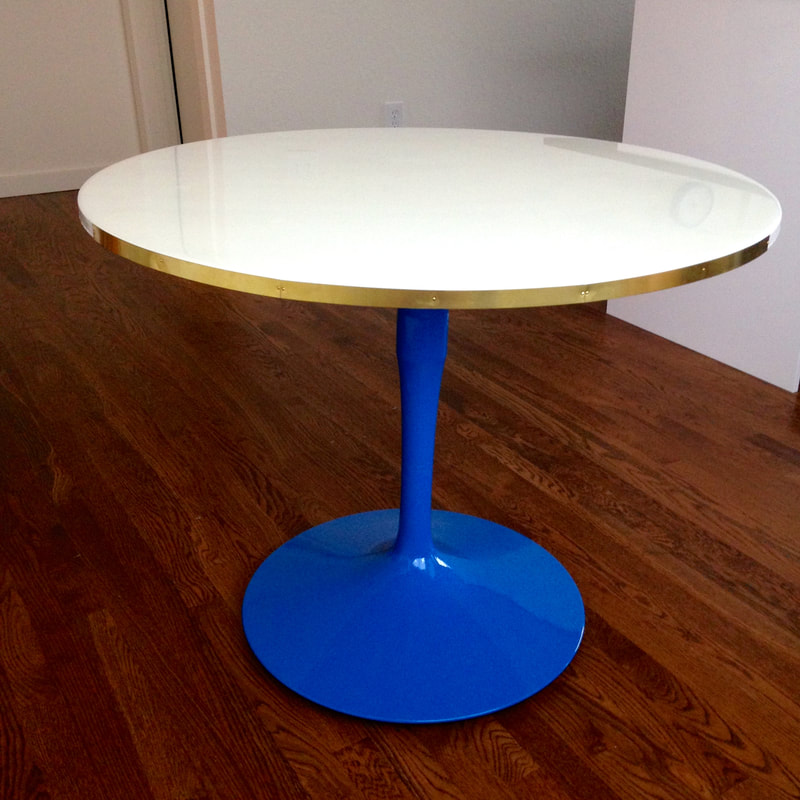
Among the stacks of moving boxes and piles of "where should this live" I sit on the floor with a plate in my lap. I recently moved and I'm in desperate need of a dining room table. November's "The Fab Furniture Flippin' Contest" Showstopping TOPS sponsored by "ETI Envirotex" came at the perfect time. Thanksgiving dinner picnic style was not an option I was willing to entertain. First off a big thank you to Envirotex for providing me with the pour on resin to make this project really shine! The high gloss finish is equivalent to 50 coats of varnish! It is a durable, waterproof and heat resistant finish that is perfect for my dining room table which has been known to take a beating. I found this vintage metal tulip table base a few years ago in a Berkeley, California Craigslist search. I picked it up and have been waiting for the perfect opportunity to transform it into a piece of furniture I will treasure for a long time. After a lot of back and forth on design concept I purchased a 36" wood round from my local hardware store and headed home. Pulling into the garage I noticed a box on the porch, my Envirotex product had arrived and I was excited to get started. Orbital sander in hand I attacked both sides and the edge of my wood round with 150 and 220 grit sandpaper. Then using a small foam roller and a can of Kilz water based primer I painted both sides and the edge, closed the garage door and not so patiently waited for it to dry. The above steps I am very familiar with, resin on the other hand was a new product to me. I chose a project with a large surface area to cover and I was nervous my ambition may have gotten the best of me. After watching countless "How To" videos I felt ready to start stirring. Due to the chilly weather I decided to pour the resin inside of the house. I laid down a sheet of painting plastic and a couple of blocks to raise the table top off of the floor about 4 inches. I used masking tape to go all the way around the bottom edge and used a razor blade to trim it smooth. This will hopefully help keep a smooth drip free bottom edge. After making sure the table top was level, very important so that the resin self-levels evenly, I retrieved my resin equipment. I put the resin bottles into the sink with hot water for 5 minutes to slightly warm them. While they were warming I lined up my cups, sticks and color. Once I pulled the resin out of the sink I poured 4 oz. of resin into each of the 5 cups. Watching the clock I then added 4 oz. of the hardener to the first cup and started mixing for two minutes. I added in 30 drops of color (20 white and 10 white pearl) and stirred for another one minute. I quickly moved onto the next cup, adding the hardener, stirring like crazy, adding the color and moving on down the line of cups. Once all of the resin was mixed I poured all of the cups into the middle of my table top and watched as it began to spread outward. I was too nervous to move the board as I wanted it to remain level so I used the side of one of the sticks to help the resin move outward and down the edge. I used one of the small brushes that came with the Envirotex product to collect the drips and help keep the bottom edge smooth. I used a barbecue lighter to pop the tiny bubbles that came to the top and after a few minutes I went back and did another sweep. Be careful to not get the flame too close to the product. Now that the table top was setting I got started on the table base. I sanded the base with 220 grit sandpaper, used a tack cloth to remove any dust and pulled out the paint! I love high gloss finishes and my go to paint is Fine Paints of Europe Hollandlac Brilliant, I had it tinted in Benjamin Moore Big Country Blue. Two coats of paint with a light 400 grit sanding in between and the base was looking beautiful! Now for the hard part . . . . waiting. The resin takes 72 hours to cure and I like to let paint set for at least 48 hours before I handle it. Once both pieces were cured I flipped the top onto a clean surface and removed the tape to see a nice smooth bottom edge. I centered the base and used 1/2" brass wood screws to attach the top to the base and flipped it over! But I didn't stop there! I found some Brass Craft Strips and Brass Finishing Nails at the hardware store and knew they were the perfect finishing touch. I pre-made the nail holes in the brass strips and then taped the stripes in place while I tapped the finishing nails into place. I am absolutely over the moon with how this vintage tulip table makeover turned out! I mean look at the shine on the table top, you can see the kitchen clock in the reflection! I had to order more brass strips, they will eventually go all the way around the top. I am looking forward to celebrating the holidays and enjoying many family dinners at this Colorfully Chic table! Anyone interested in joining this amazing community of creators reach out to Evey's Creations and check out some of this month's host entries. Jessica created a fun step stool and Christie made a lovely Mermaid Tray. Thanks for following along! Sponsorship Disclosure: Some or all of the hosts of The Fab Furniture Flippin’ Contest receive monetary and/or product compensation from the sponsoring brand, ETI Envirotex, in order to complete their themed projects. ETI Envirotex will also provide the prize package for the contest winner.
4 Comments
Jacqueline
12/7/2017 03:31:30 pm
Thank you Emy!
Reply
Jacqueline
12/11/2017 09:59:02 am
Thank you so much Lisa!
Reply
Leave a Reply. |
~ ABOUT ME ~Creative Owner of Delightful Designs, a boutique where furniture is given a new colorfully chic life! Read more...
CATEGORIES
All
ARCHIVES
November 2017
|


 RSS Feed