|
It has been a great week at the Delightful Designs workshop! I had the chance to participate in the Fab Furniture Flippin' Contest, an amazing group of creatives that transform neglected furniture. This months contest was sponsored by DecoArt a great brand with numerous products, so you're sure to find whatever you need for any of your projects! We received paint from their Chalky Finish line, a product that is super easy to use! No sanding or priming required, I wiped my piece down with a degreaser and then it was ready for paint!
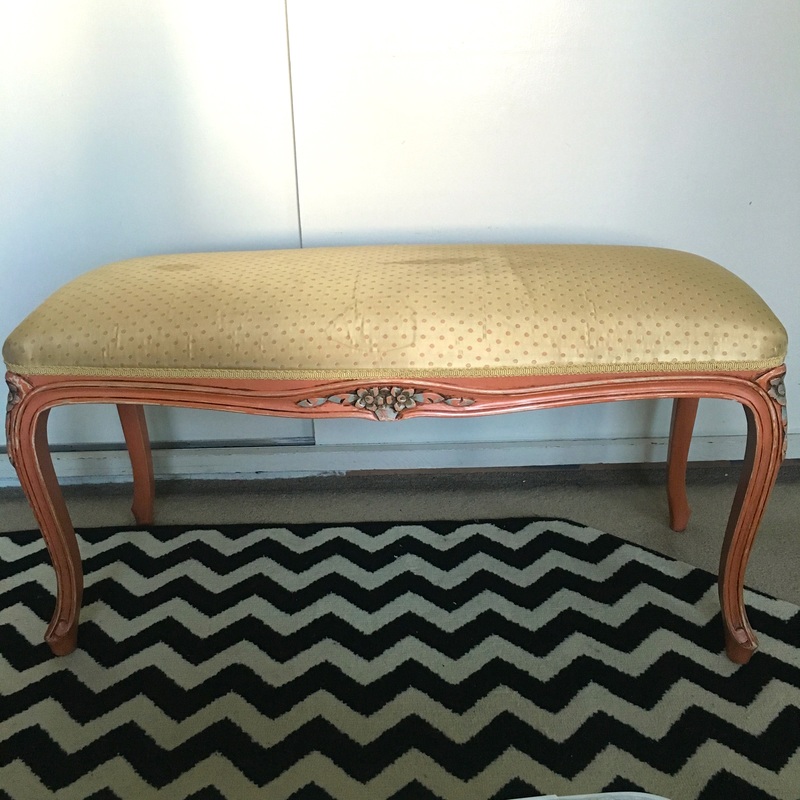
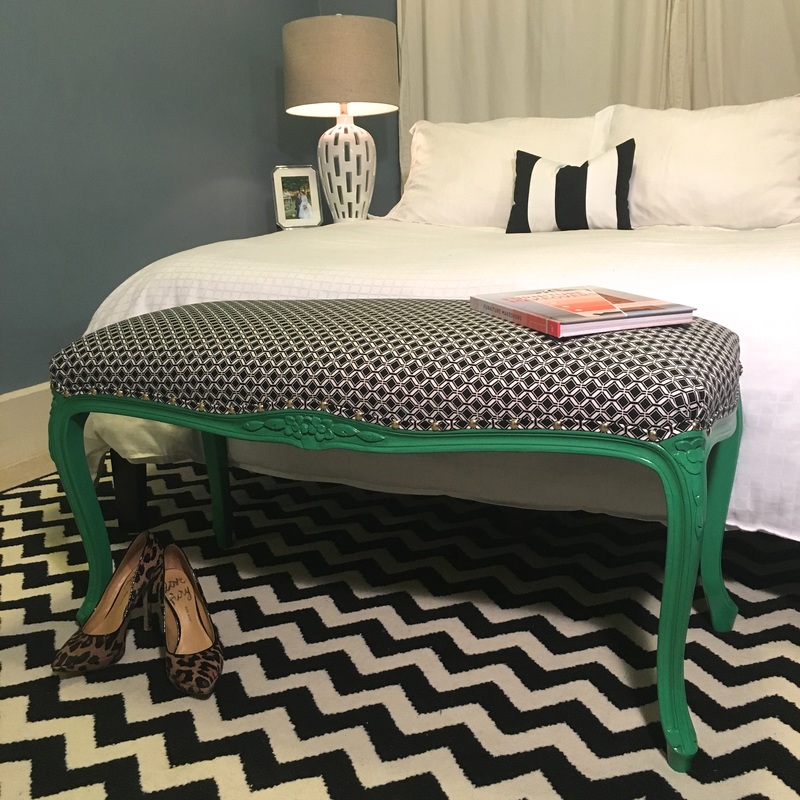
The theme for this months contest is "Make a Statement" and if you know me or have followed along in the past you know that I am all about Bold and Bright colors. As my boyfriend would say this months contest was right in my wheel house! I choose the color Fortune, a vibrant green, for a project I had been wanting to get started on. I picked up this bench off of Craigslist for $20 and have been sitting on it (haha sorry for the bad pun, I couldn't help it) for while just waiting for the right inspiration to hit. The before is pretty bad in my opinion, stained and pretty blah. I knew I wanted to do black and white on top and a pop of color on the legs. Read More
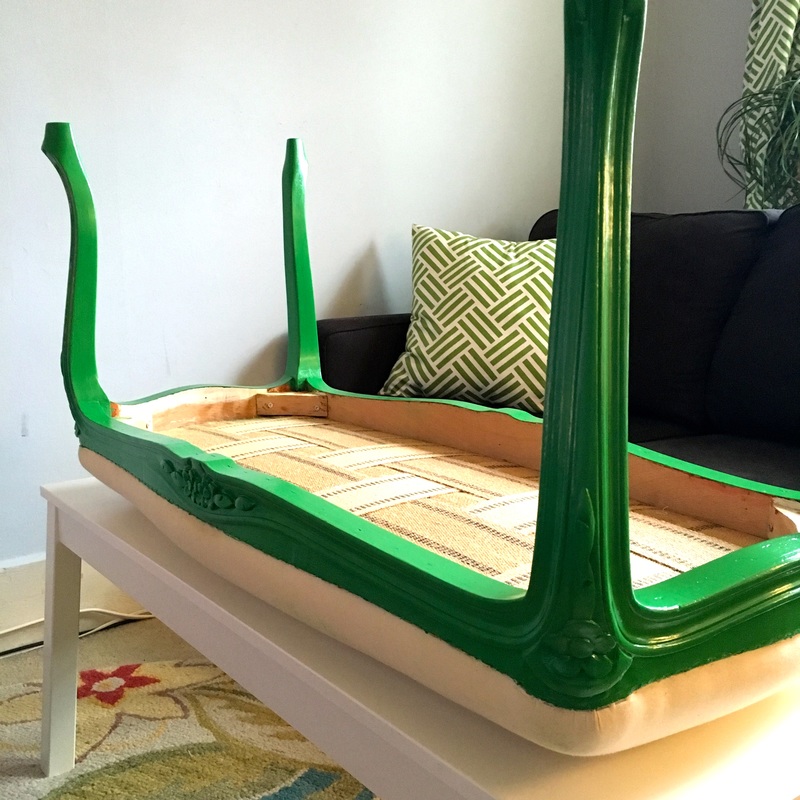
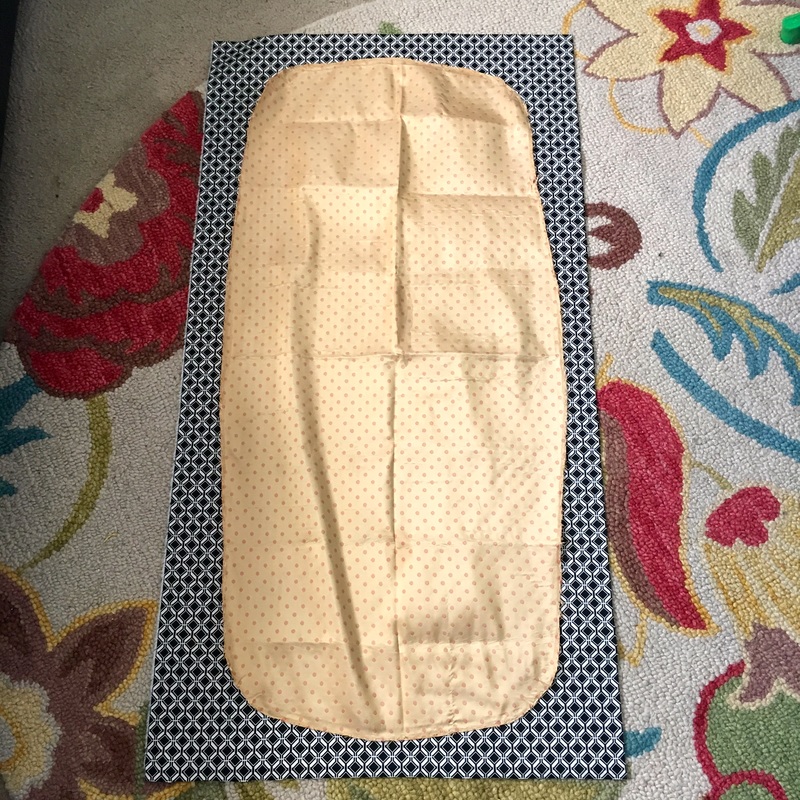
Using a flathead screwdriver and needle-nose pliers I removed the polka dot fabric from the top and the black from the bottom. Try to clean the fabric in good shape it will help when it comes time to measure the new fabric. I gave it two coats of the Fortune DecoArt Chalky Finish paint (lightly sanding with a 220 grit paper between coats) and two coats of DecoArt Soft-Touch Varnish.
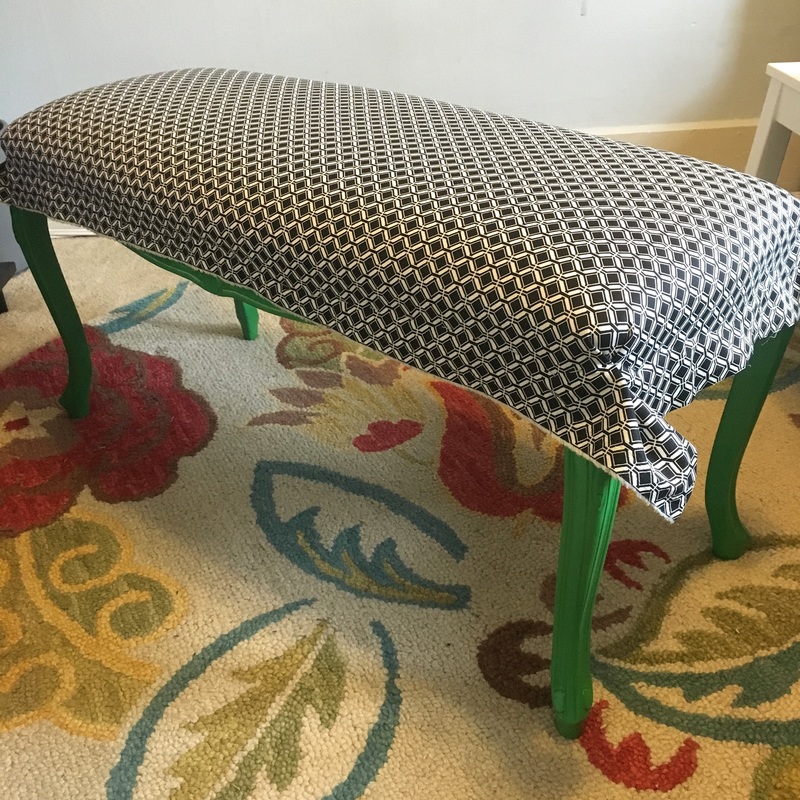
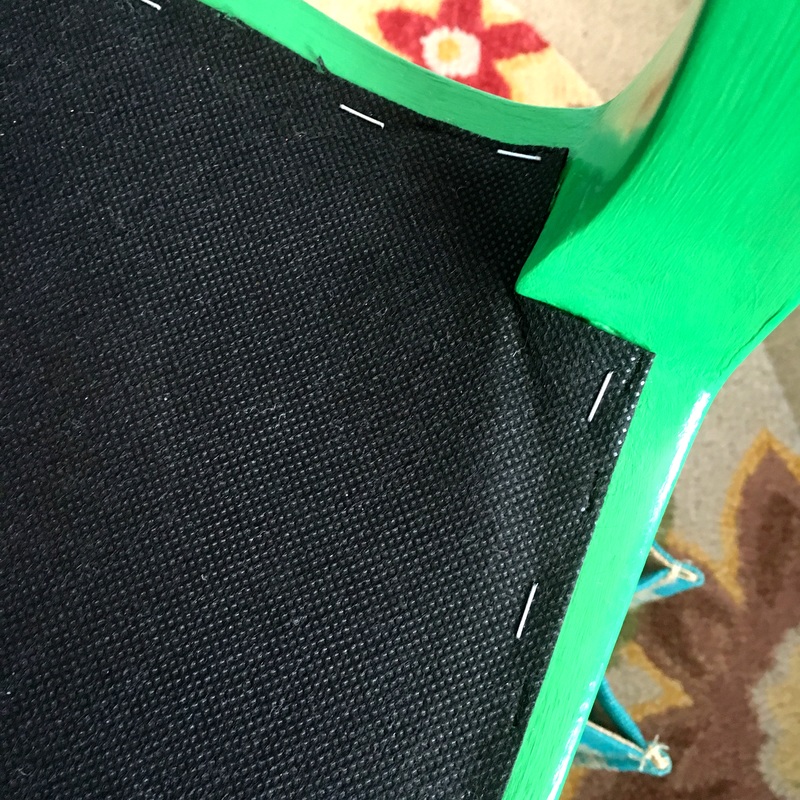
I was all over San Francisco searching for the perfect black and white geometric print. After taking a few days thinking I would have to change my vision I popped back into my favorite fabric store and there it was! I did a base layer of muslim and tacked a black breathable fabric to the underside before I adding the print.
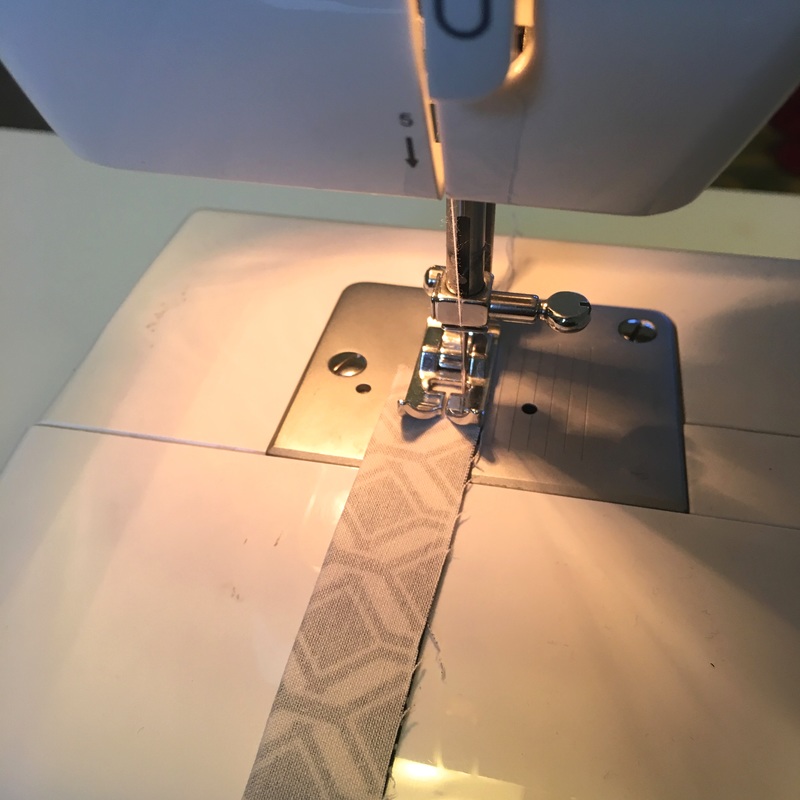
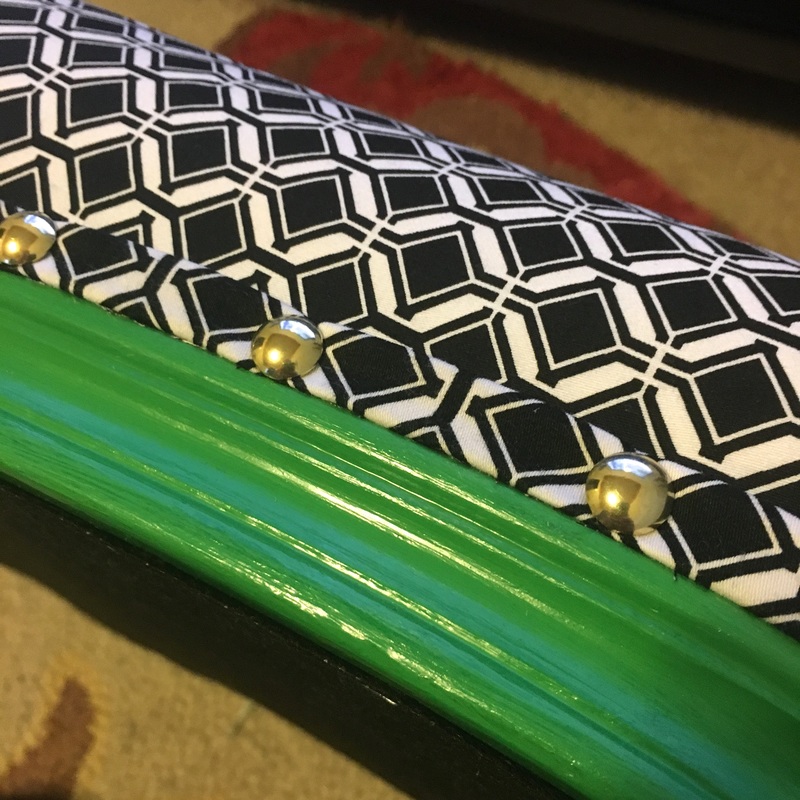
I created a thin band to decoratively cover the staples by cutting a long strip, 105"L x 1.5"W, with the right sides of the fabric together I sewed the long edges together. Next take a safety pin, clip it to one side and feed it through, inching along until the pin comes out the other end the the fabric is right side out. I pressed it flat and tacked it to the bench with upholstery glue. To give it that final bit of glam I added the gold nail heads by simply tapping them in with a rubber mallet. I got lucky and the print on the fabric spaces are one inch.
I really enjoyed this project and I hope you all did too! It was so exciting to participate in the February Fab Furniture Flippin’ Contest. Stop by this months featured contest hosts – Carrie from Thirty Eight Street and Charlotte from Ciburbanity to see more! If any of my readers are interested in participating in an upcoming contest please send an email to info@fabfurnitureflippincontest.com.
2 Comments
ellie hancock
8/22/2016 08:58:57 am
They look great! We get our <a href="http://www.auditoria-services.com/retractable-seating/upholstered-bench/">upholstered bench</a> custom made by a company for our small theatre. We host small plays and they look wonderful! Great benches!
Reply
Leave a Reply. |
~ ABOUT ME ~Creative Owner of Delightful Designs, a boutique where furniture is given a new colorfully chic life! Read more...
CATEGORIES
All
ARCHIVES
November 2017
|


 RSS Feed